
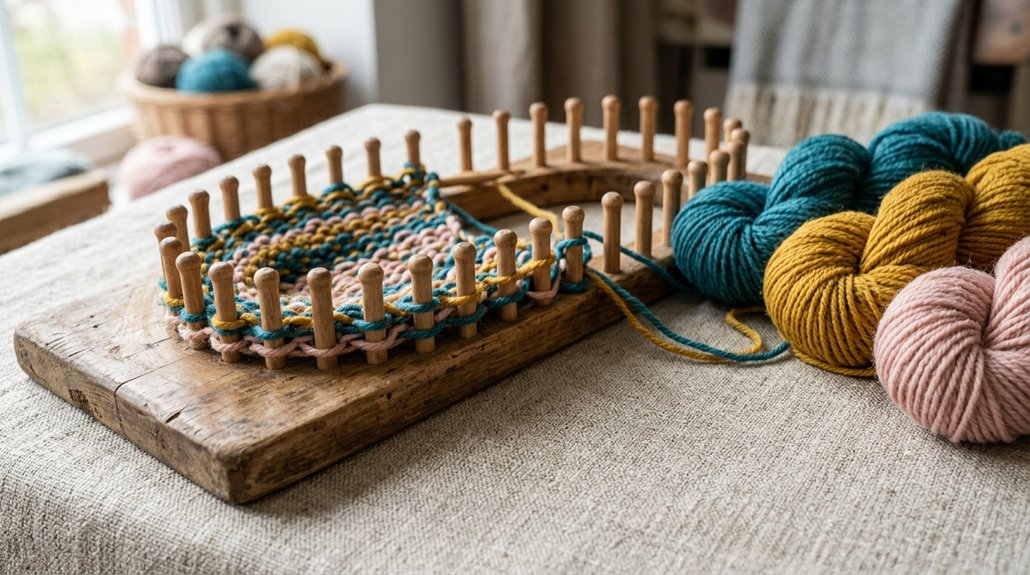
Making a DIY knitting loom can be a rewarding project, especially for beginners eager to explore knitting without buying a store-bought loom. Using simple tools and materials like wood, dowels, and glue, it’s possible to create a sturdy frame tailored to personal projects. The key is careful planning—measuring, drilling, and sanding—so the pegs are even and secure. Once assembled, the loom opens up a world of easy projects, from scarves to headbands. But how exactly do you start building it?
Gather Materials and Prepare Your Workspace for Building a Wooden Loom
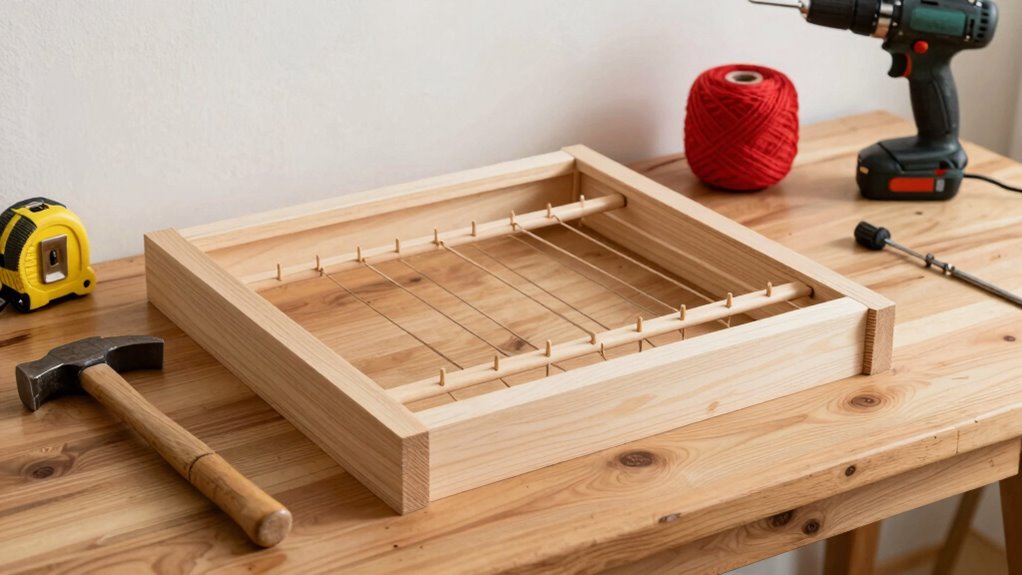
Have you ever wondered what it takes to build a simple wooden loom from scratch? Gathering the right materials is the first step. You’ll need a wood loom, which typically uses a 24 x 36-inch board and a ¾ inch plywood scrap, cut to 1½ inches wide by 36 inches long. Wooden pegs or dowels about 1½ inches tall are essential for creating the warp.
Before starting, prepare your setup workspace—clear a sturdy table or workbench with good lighting and safety equipment like goggles and a dust mask. Arrange tools such as a drill with a spade bit, wood glue, tape measure, and sandpaper nearby. Planning your peg placements along a center line, spaced about 1½ inches apart, ensures an organized and functional loom ready for weaving.
Step-by-Step Guide to Cutting and Marking Your Dowels and Base Board
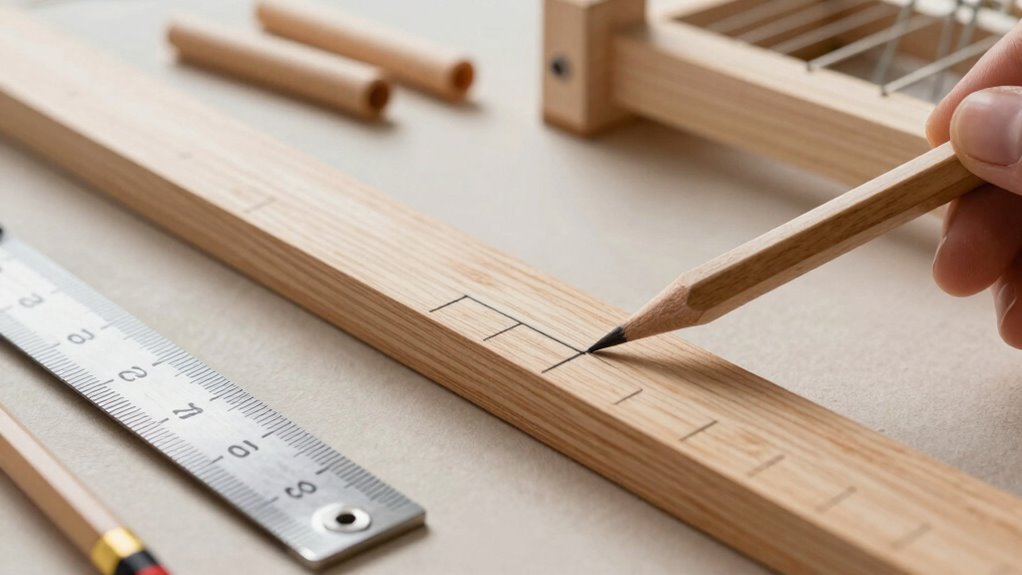
Once the materials are gathered and your workspace is set, the next step involves accurately cutting and marking your dowels and base board. For a sturdy wooden loom, start by cutting each dowel to 1 ½ inches, ensuring all pegs are uniform in size for a consistent weave.
The base board, ideally around 24 x 36 inches, needs careful preparation. Use a ruler to help plot precise peg placement points. Begin by marking a center line along the length of the board, which will guide your peg placement. Plot the pegs roughly 1 ½ inches apart, but feel free to adjust for looser or denser stitches. These steps help ensure your loom is stable and well-aligned, making your knitting projects much more enjoyable.
Drilling and Securing Pegs: Tips for a Stable and Smooth Loom Frame
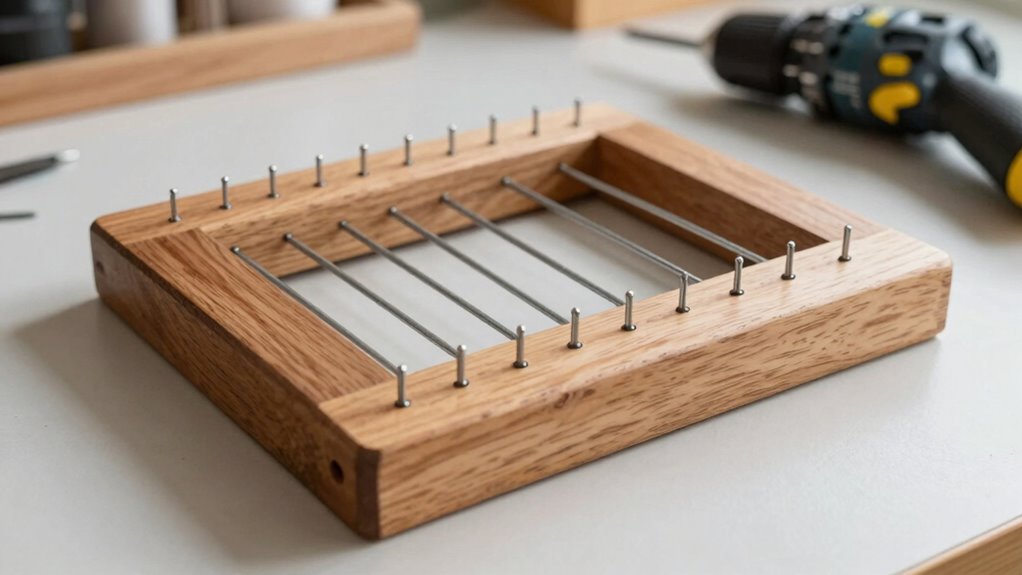
What’s the secret to making sure your knitting loom is stable and easy to work with? It all comes down to properly drilling and securing the pegs. First, drill holes at peg placements along a central line, spacing them about 1 1/2 inches apart for looser stitches. Use a spade bit that fits the dowels perfectly; this ensures clean, snug holes that hold pegs firmly. Before inserting each peg, apply wood glue and tap them in until they sit securely. Then, let the glue dry completely.
To maintain stability, make sure all pegs are the same size, which helps keep even tension and pattern consistency. Consider these tips: use precise drilling for even spacing, choose the right size drill bit for a snug fit, and secure pegs with glue for durability.
Finishing Touches: Sanding, Testing, and Adjusting Your DIY Loom
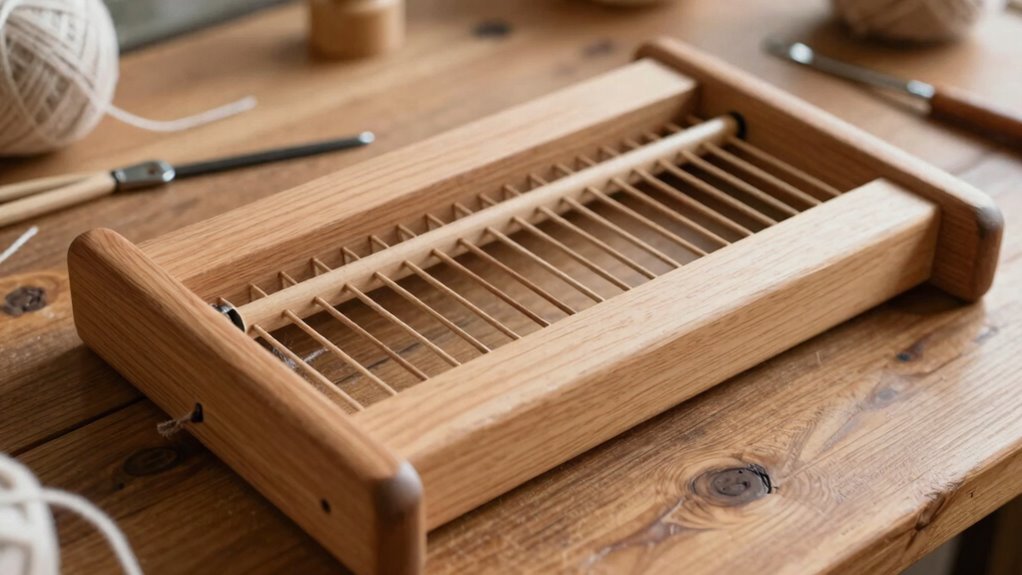
Ever wonder why finishing touches matter so much when building a DIY knitting loom? In woodworking, smooth surfaces prevent snagging yarn, so sanding the board and pegs is essential. Carefully sand the wood to create a gentle, snag-free surface, especially around edges and pegs.
Consistent peg length and even spacing, about 1.5 inches apart, help keep tension even during loom knitting.
Applying wood glue before inserting each peg ensures the structure stays secure; wait until the glue fully dries before proceeding.
During tension testing, wrap a few starter rows and observe stitch uniformity. If stitches are too loose or tight, adjust peg height or spacing accordingly.
These finishing touches make a big difference, resulting in a stable, reliable loom perfect for all your simple projects.
Easy Projects to Start Knitting Once Your Loom Is Ready
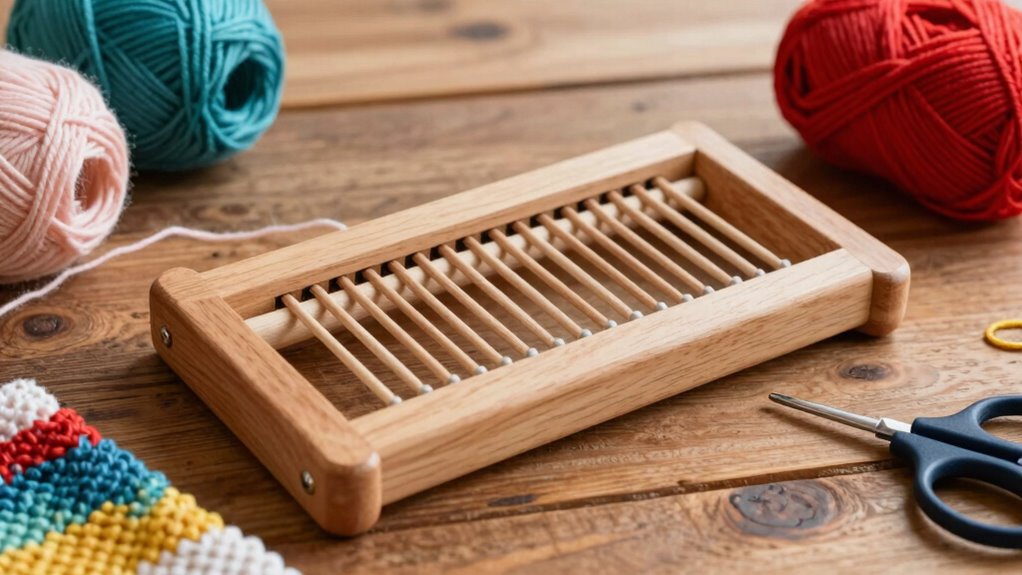
After putting the finishing touches on a DIY loom—sanding, testing, and adjusting, it’s exciting to start creating with it. For beginners, loom knitting offers simple projects that build confidence and skills. Using chunky yarn on a large-gauge loom makes it easier to achieve even tension and faster results. Easy projects include cozy scarves or blankets, which are perfect for practicing consistent stitches.
Some starter ideas include making a chunky yarn scarf or blanket for warmth and quick gratification. You can also create hats with a basic e-wrap cast-on and knit stitch, adding a folded brim for comfort. Crafting small accessories like headbands, hair scrunchies, or fingerless gloves using simple ribbing patterns is another great option.
These beginner projects are forgiving and fun, making loom knitting an enjoyable and rewarding experience.