

As an Amazon Associate, this website earns from qualifying purchases.
To sew a double buttonhole stitch, start by stitching a row of blanket stitches from left to right, then carefully turn the fabric around. Next, sew the second row from right to left, making sure each stitch lands precisely between the gaps of the first row, creating interlocking teeth like a zipper. Adjust the spacing for different effects, and use aligned markings for accuracy. Interested in perfecting this technique? Continue exploring for detailed tips and creative ideas.
Understanding the Double Buttonhole Stitch and Its Variations
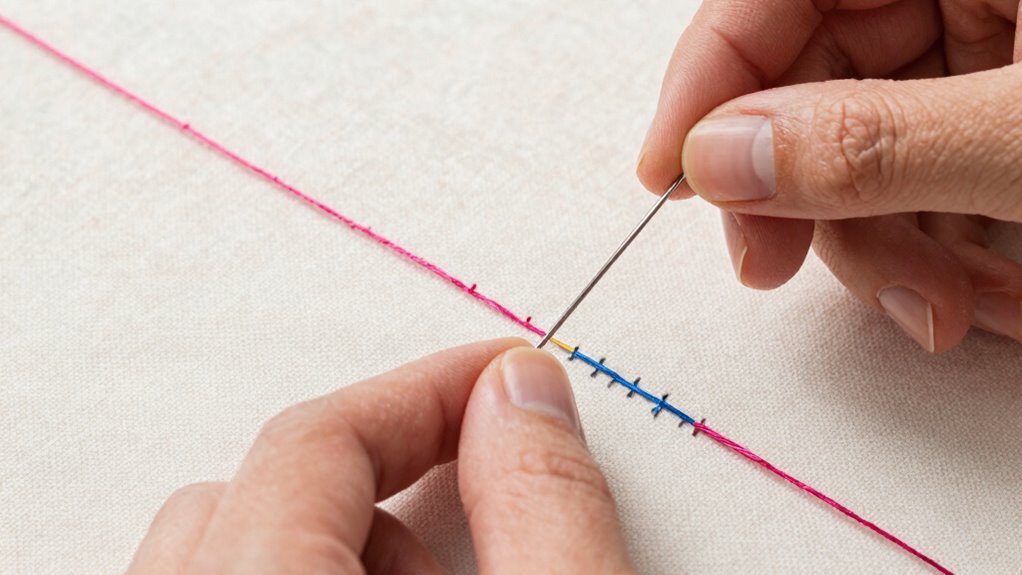
Have you ever wondered how some decorative stitches add such a charming, textured look to fabric borders? The double blanket stitch, also known as the double buttonhole stitch, creates this effect through interlocking stitches that resemble teeth or links. It involves two rows of blanket stitches, with the second row sitting between the gaps of the first, forming interlocking legs.
This technique turns a simple decorative border into a striking design, often seen in historic whitework fichu or Rabari embroidery. To achieve it, a row of blanket stitches is completed, the fabric is turned, and the second row is added so that its stitches align perfectly between the first. Variations and regional names, like Festón doble in Spanish, highlight its international charm.
Gathering Materials and Preparing Your Fabric for Double Buttonhole Stitch
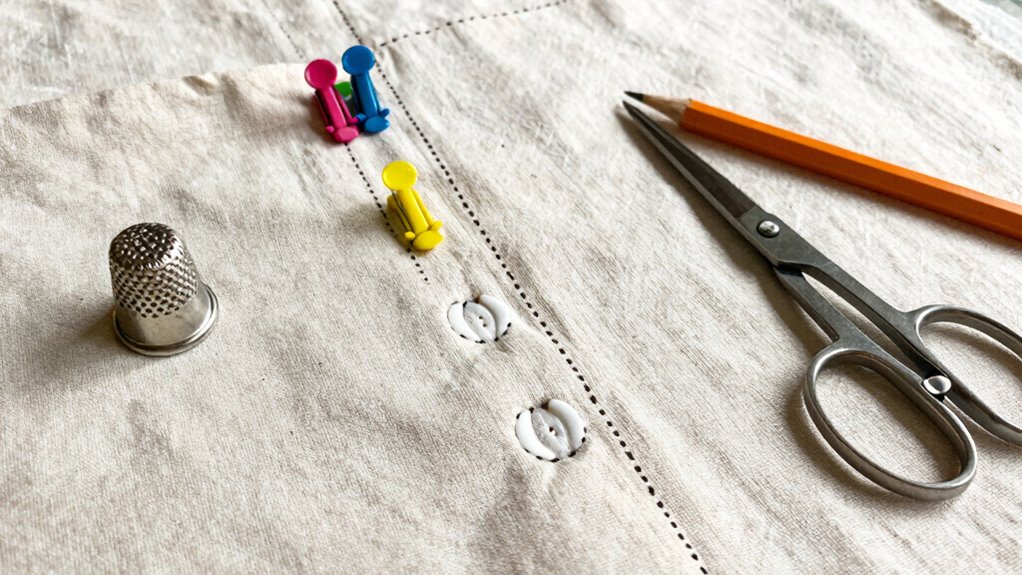
Ever wondered what supplies are needed before diving into the delicate world of double buttonhole stitches? Gathering materials is the first step toward success. Essential items include embroidery needles, matching thread—such as cotton or perle cotton—scissors, a suitable fabric, and a fabric marker or water-soluble pen for spacing rows.
When preparing fabric, choosing an evenweave material makes a big difference, as it allows stitches to be spaced evenly between row gaps. Pinpointing stitch length and spacing helps create a neat, uniform look. It’s also helpful to plan the alignment of Row 1 (left to right) and Row 2 (right to left), ensuring the second row’s teeth fall neatly between the first row’s stitches. Proper gathering of materials and preparation sets a sturdy foundation for your double buttonhole stitch project.
Step-by-Step Guide to Sewing a Basic Double Buttonhole Stitch
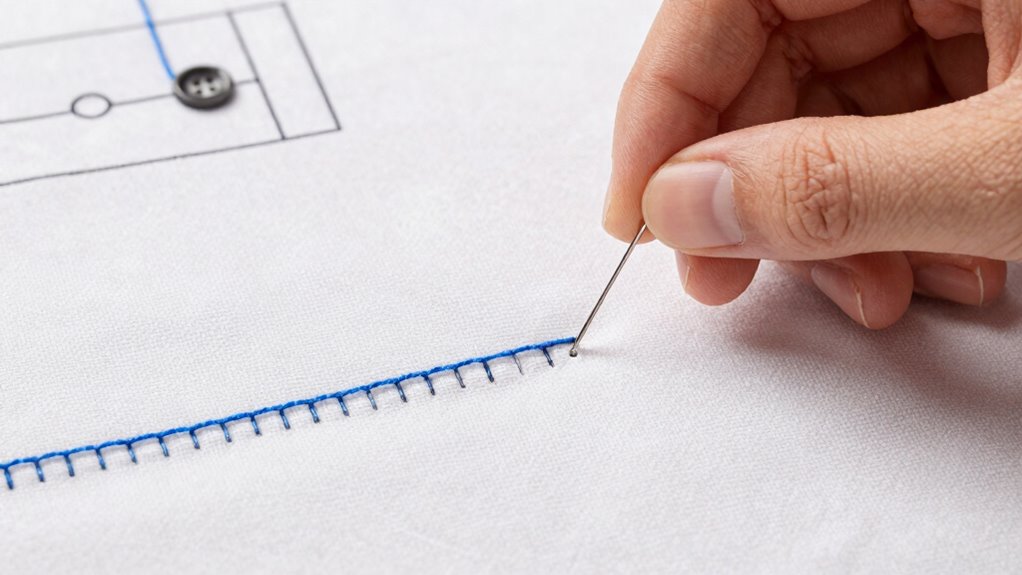
What’s the best way to start sewing a double buttonhole stitch? It begins with a row of blanket stitches, worked from left to right, creating the first row. Once finished, turn the fabric around and work the second row from right to left, placing stitches precisely between the gaps of the first.
These stitches should be evenly spaced, especially on evenweave fabric, to ensure neat interlocking teeth—resembling the teeth of a zipper. As you complete the second row, the interlocking teeth of the double buttonhole stitch come into view, forming a beautiful aari work design. This technique can be done with a single color, emphasizing the pattern’s symmetry.
The process creates a sturdy, decorative edge that adds texture and visual interest to any fabric project.
Creating Decorative Effects With Spacing, Rows, and Color Variations
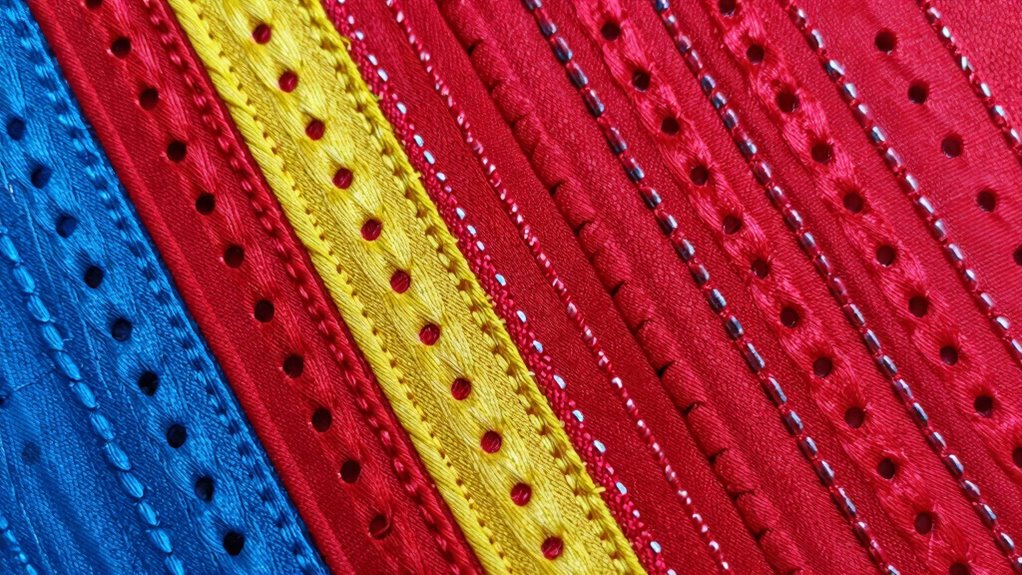
Could the way stitches are spaced and arranged truly transform the look of a double buttonhole stitch into a work of art? Absolutely. Adjusting the spacing, row interlock, and even row placement can create stunning decorative effects.
For example, varying the spacing between stitches can produce a tighter, more intricate look or a looser, more open, tooth-like appearance. Alternating row interlock patterns adds depth and texture to borders or motifs. Using different colors for each row or stitch can make the design pop, emphasizing the decorative aspect of the double buttonhole stitch.
Combining Double Buttonhole Stitch With Other Embroidery Techniques
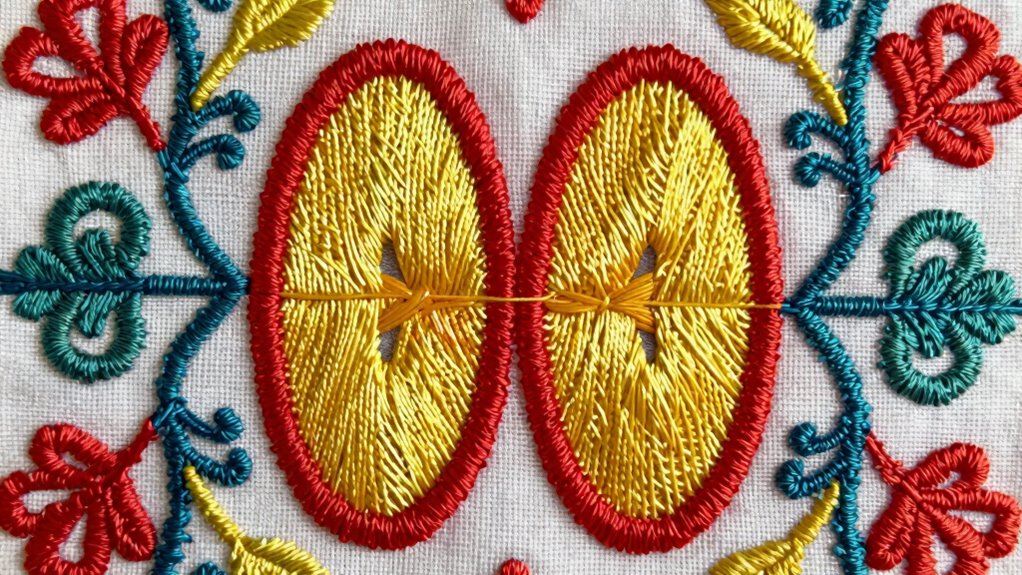
Integrating the double buttonhole stitch with other embroidery techniques opens up a world of creative possibilities, transforming simple borders or motifs into intricate, eye-catching designs. For example, combining it with the double blanket stitch enhances texture and depth, creating a more elaborate look. The interlocking teeth of the double buttonhole stitch work beautifully alongside basic satin or split stitches, adding contrast and dimension.
Troubleshooting Common Issues and Achieving Neat Edges
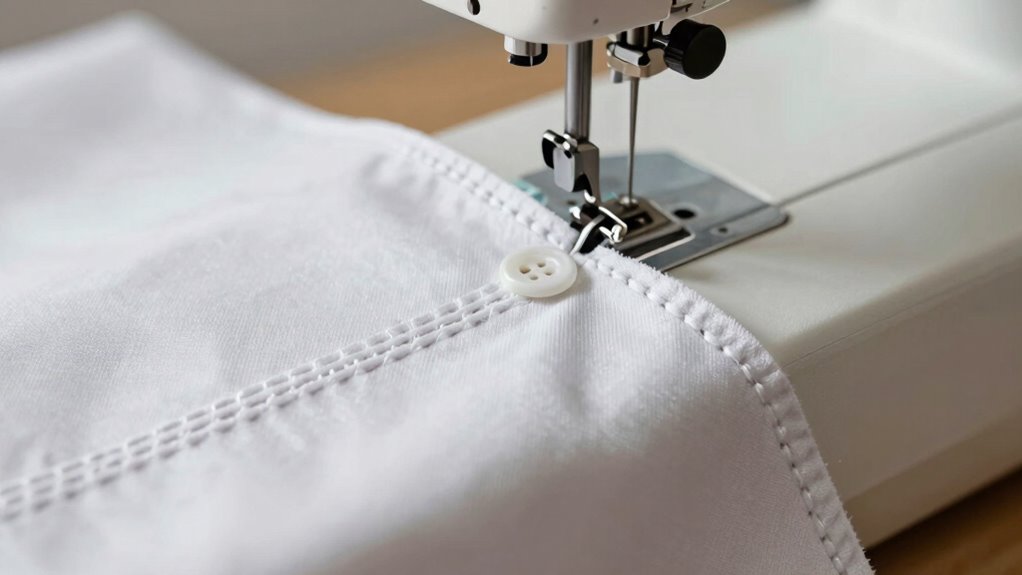
Even with careful planning, working the double buttonhole stitch can sometimes lead to uneven edges or loose stitches. To troubleshoot, focus on maintaining proper edge alignment and consistent tension. When stitching, ensure the second row of blanket stitches fits between the gaps of the first, creating interlocking stitches that form a neat, stable pattern.
Use a temporary guideline to mark the open-side edge, verifying alignment before stitching. Count threads on evenweave fabric to keep stitches evenly spaced. When turning the fabric for the second row, line up each stitch so its vertical part sits perfectly between the first row’s stitches.
These tips help prevent distorted edges and improve the overall appearance of your double buttonhole stitch.
Applying the Double Buttonhole Stitch in Historical and Contemporary Designs
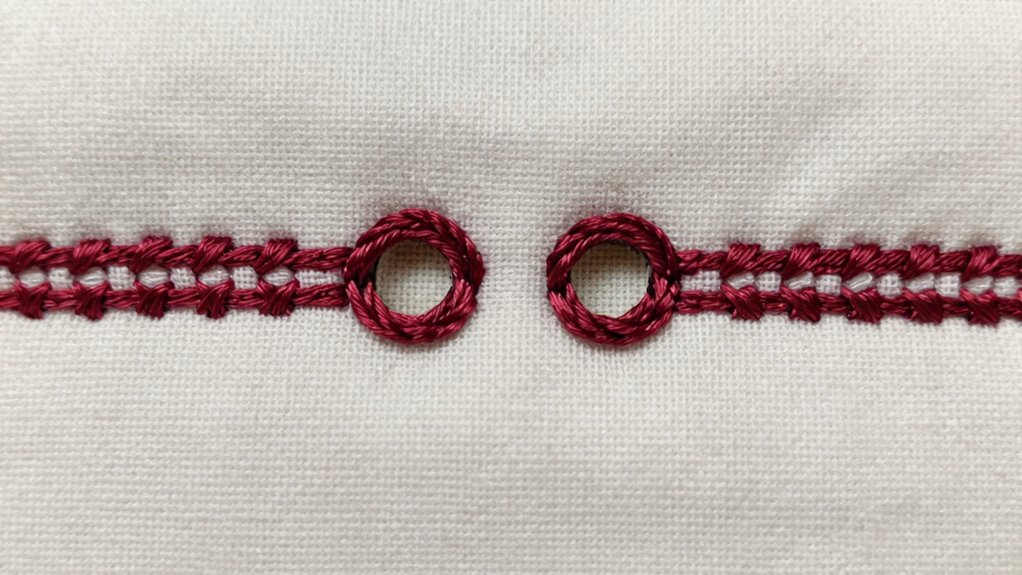
Have you ever wondered how the double buttonhole stitch adds a charming touch to both old and new textiles? This technique enhances designs by creating interlocking blanket stitches, forming a decorative border or pattern. Historically, the double buttonhole stitch appears in 18th-century whitework fichus, nomadic Rabari embroidery, and 19th-century Wallachian embroidery, often called dovetail buttonholing.
Today, artisans incorporate it into contemporary projects, blending tradition with modern style. When applying this stitch, crafters space stitches evenly and work the second row between the gaps of the first, creating interlocking teeth. Variants like the English Double Blanket Stitch or Italian Punto festone doppio showcase regional takes. Whether restoring vintage textiles or designing fresh art, the double buttonhole stitch brings a rich, textured look rooted in history.
Tips for Perfecting Your Double Buttonhole Stitch and Inspiring Your Projects
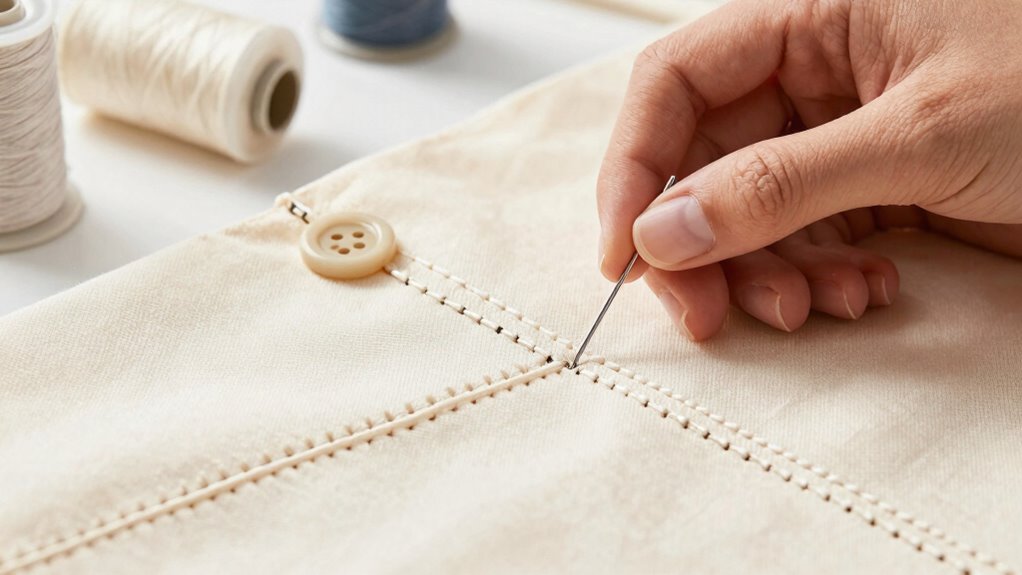
Ever wondered what makes a double buttonhole stitch look neat and professional? The secret lies in precision and consistency. To perfect this stitch, maintain even tension and ensure the interlocking stitches are uniform, creating a smooth, tooth-like pattern.
When working on evenweave fabric, spacing stitches evenly—an even number of threads apart—helps keep rows aligned. Remember, Row 1 is stitched left to right, while Row 2 is stitched right to left, so the teeth interlock perfectly.
For inspiring projects, think of the double buttonhole stitch as an elegant element in aari work design or decorative border. To elevate your work:
- Keep stitches consistent in size
- Use contrasting or matching thread for different effects
- Practice on scrap fabric before your final piece