
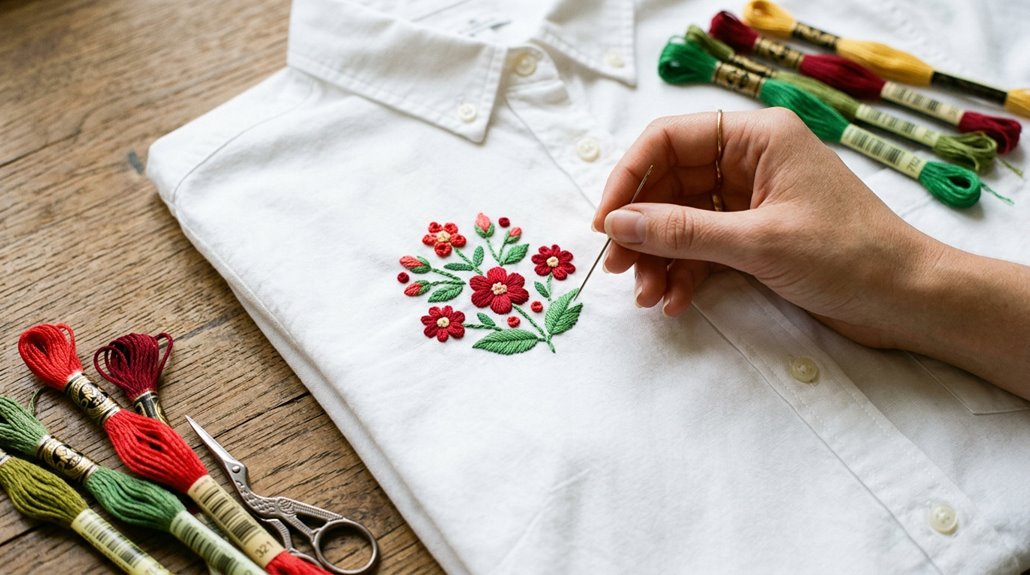
Embroidery on shirts might seem simple, but placement and technique matter. Whether placing a small design on a baby’s shirt or a bold logo on an adult’s chest, knowing where and how to start makes all the difference. Using the right tools, like stabilizers and needles, guarantees smooth stitching. Proper marking and hooping help keep everything aligned. As you learn these basics, you’ll see how small adjustments can lead to professional-looking results—and there’s always more to explore to perfect the craft.
How to Choose the Right Placement for Your Shirt Embroidery
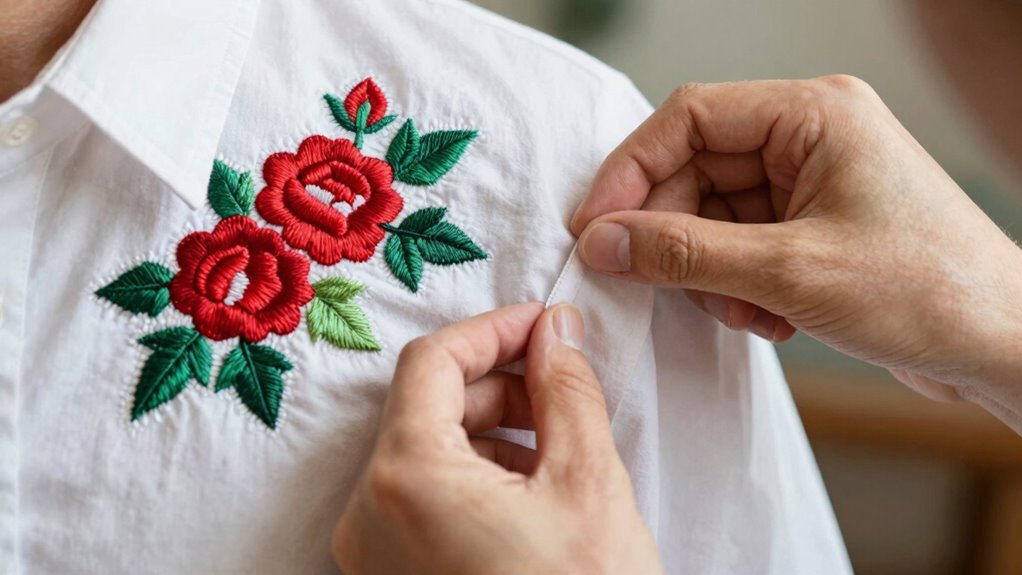
Have you ever wondered where exactly to place your embroidery on a shirt for the best look? Choosing the right embroidery placement is key to creating a polished, professional appearance.
For center front embroidery, the top should be about 1.5 inches from the neckline for babies, 2 inches for kids, and 3 inches for adults, based on the design’s height.
Left chest placement is popular for a subtle, stylish touch; on men’s shirts, it’s typically around 7 inches from the shoulder seam, and about 5 inches for women.
When working with pocketed shirts, position the embroidery just above the pocket, aligning with the buttonhole.
For shirts without pockets, start around 3 inches below the neckline or midway between the shoulder seam and centerline.
Essential Tools and Stabilizers for Embroidering on Shirts
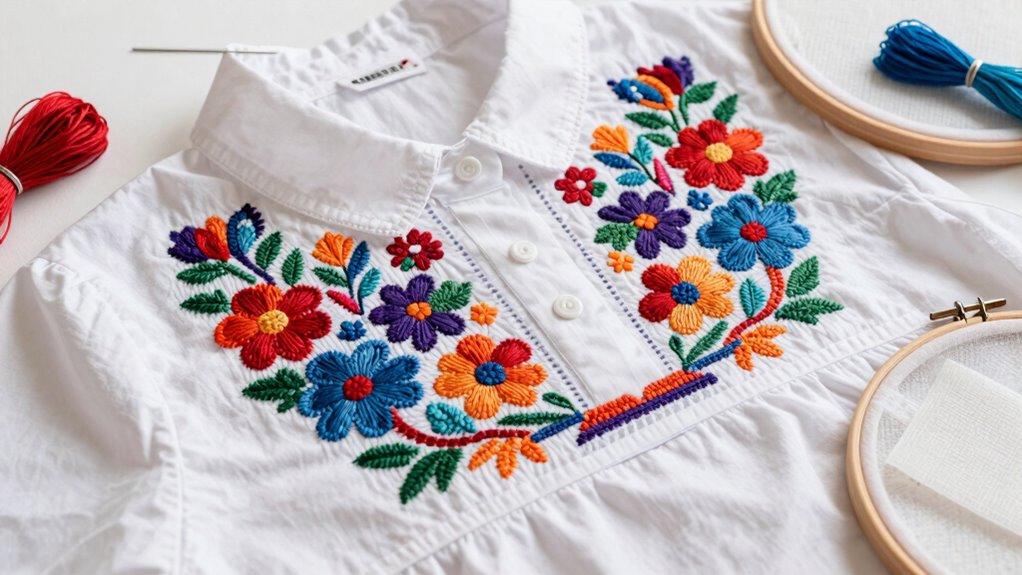
What tools are essential when starting on shirt embroidery?
First, stabilizers are key; they provide structure and prevent fabric distortion, especially on knit fabric. For example, a cutaway stabilizer is recommended behind knit fabric to reduce puckering and keep the design smooth.
Second, backing material strengthens the stitches and guards against wear and washing, with options like no-show mesh for sensitive skin.
Third, some stabilizers, like Stick & Stitch, allow you to place a design on a patch that can be rinsed off after stitching, making the process more flexible.
Fourth, water-soluble toppers lift the design off the fabric surface, helping prevent sinking into the knit and ensuring clean, crisp stitches.
Together, these tools make shirt embroidery more manageable and professional-looking.
Selecting the Best Needles and Threads for Shirt Embroidery
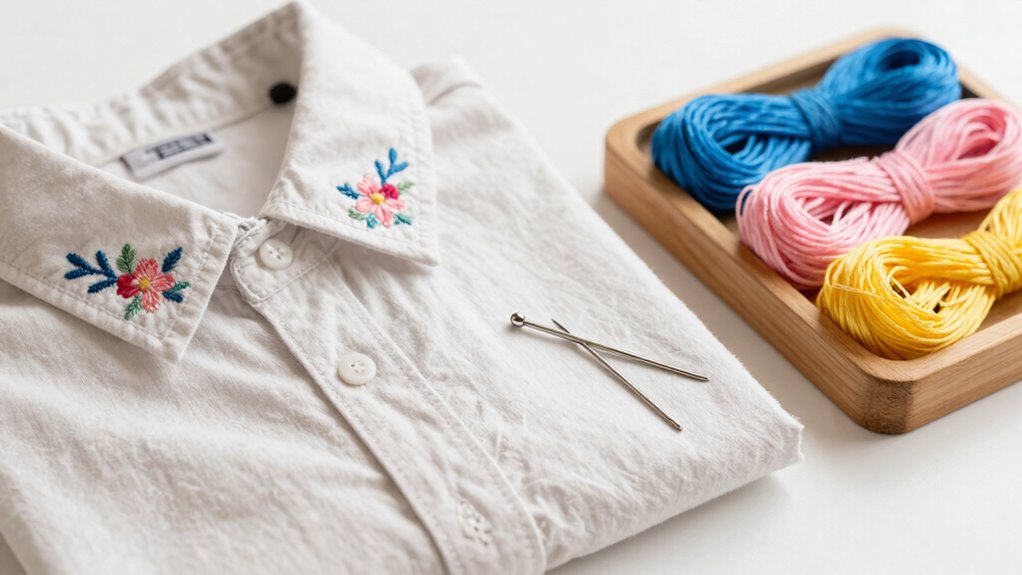
Choosing the right needles and threads can make a big difference in how your shirt embroidery turns out and how long it lasts. Selecting appropriate needles is essential; for knits, ballpoint or stretch needles are ideal because they glide smoothly between fibers without damaging the fabric. If unavailable, a universal needle works well, but stretch needles are best for Lycra-rich fabrics.
High-quality, colorfast threads are vital to prevent dye bleed during washing. Matching needle size and thread weight with your stabilizer helps avoid skipped stitches and tangling. Here’s a quick comparison:
| Needles | Threads | Stabilizers |
|---|---|---|
| Ballpoint for knits | Colorfast embroidery threads | Smooth, compatible with threads |
| Universal for general use | Bright, durable threads | Prevent puckering |
| Stretch for Lycra | Test for colorfastness | Support fabric and prevent holes |
Step-by-Step Guide to Hooping and Preparing Your Shirt
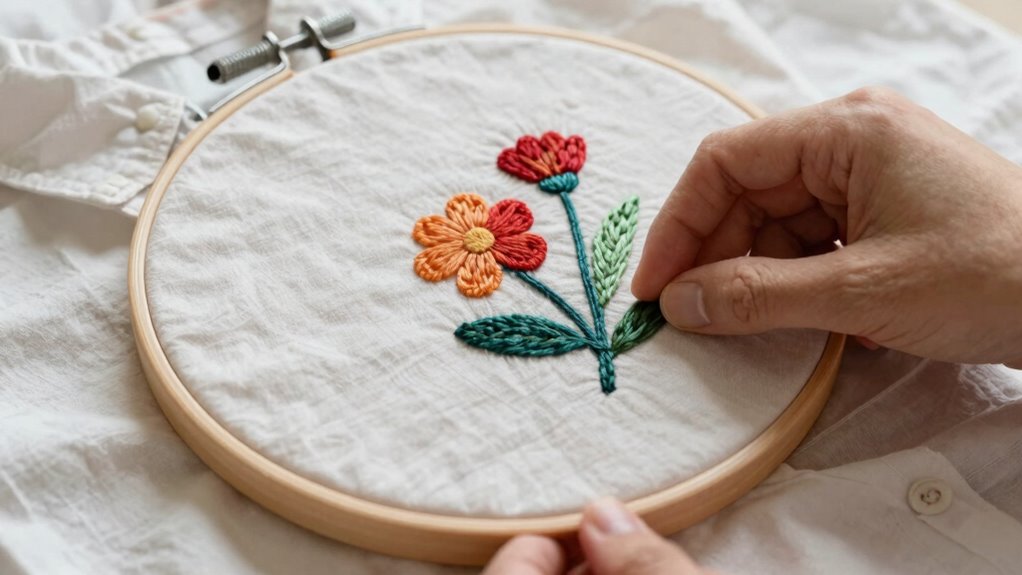
Ever wonder how to keep your shirt from shifting or puckering during embroidery? The key is proper hooping and preparation. First, fold the shirt to find the center line, ensuring your design will sit just right. Next, position a design template with shirt placement in mind, so your embroidery ends up exactly where you want it.
Then, hoop a piece of stabilizer—this fabric supports the shirt during stitching and prevents puckering. Use a hoop about 6 inches in size for versatility, and gently stretch the stabilizer with the fabric inside. Make sure the shirt is securely held without too much tension. Proper hooping creates a stable stitching platform, making embroidery smoother, cleaner, and more professional-looking.
Tips for Marking and Centering Your Embroidery Design
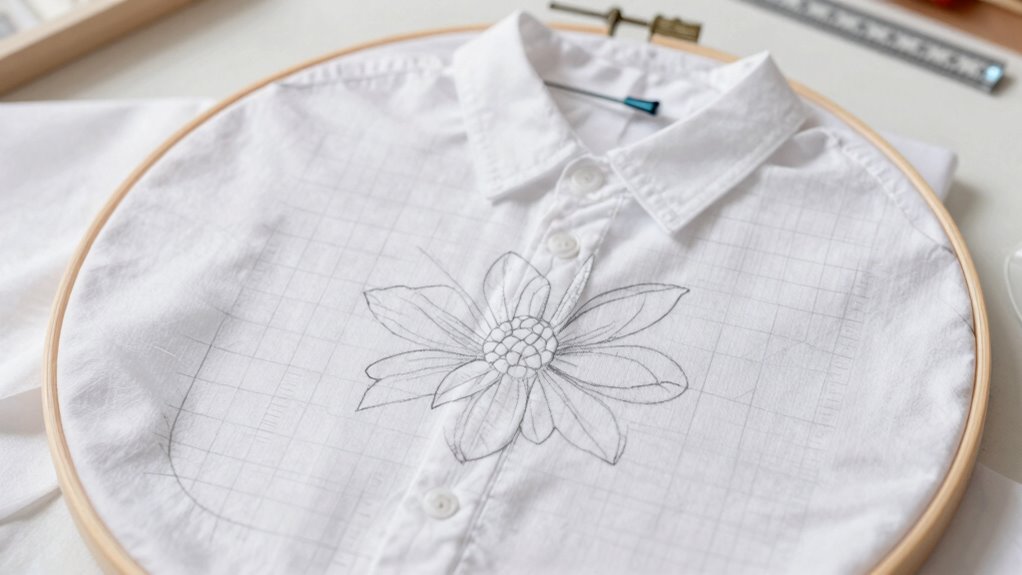
Marking and centering an embroidery design might seem tricky at first, but with a few simple techniques, it becomes much easier to achieve professional-looking results. To find the shirt center, draw horizontal and vertical lines to create an intersecting point, using a fabric marker tested beforehand on the fabric. This helps establish the perfect placement for your design.
For sleeve placement, mark the sleeve’s horizontal center to ensure it aligns well when embroidered. Additionally, identify where the shoulder seam meets the neckline to serve as a vertical reference. Using the floating method, move the needle to your design’s center start point and lightly spray the hoop with adhesive, aligning it with your marked center.
Before final embroidery, test on a stabilized mock-up or two-layer Cutaway to confirm the size and placement.
Beginner-Friendly Embroidery Designs for Shirts
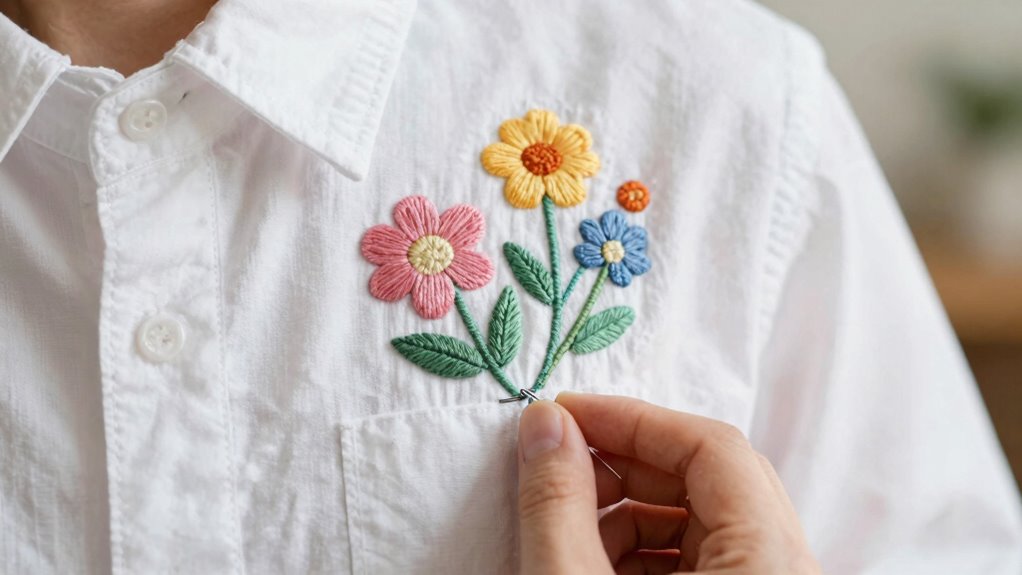
Simple, beginner-friendly embroidery designs are a great way to dip into the world of shirt decorating without feeling overwhelmed. For an embroidered T-shirt, starting with simple patterns makes the process more enjoyable and less stressful. Consider options like free-standing lace, appliqué, patches, or large, bold designs—these are perfect for beginners because they are easy to execute and visually striking.
To ensure your shirt embroidery turns out well, always use high-quality, properly digitized designs to avoid placement errors or ruined shirts. Before stitching, print the design to scale and create a paper mock-up to visualize placement. Tips such as positioning the design 1.5 to 3 inches from the neck, depending on the shirt size, can help achieve a professional look with minimal fuss.
How to Achieve Perfect Left Chest and Center Front Embroidery
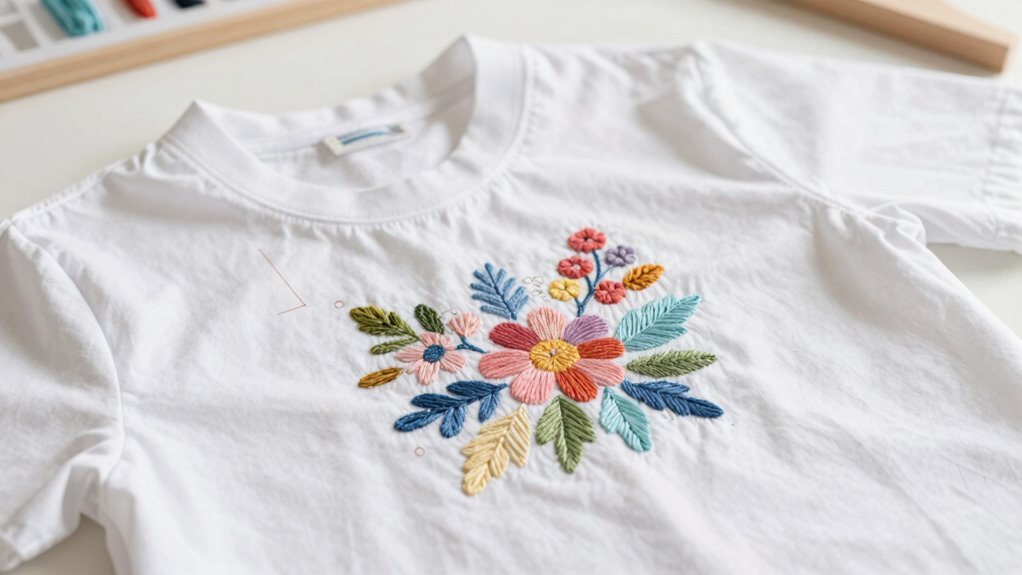
Achieving perfect left chest and center front embroidery requires a careful eye for placement and attention to detail. For motifs de broderie like a blue white design, precise measurements are key.
The center front typically sits about 3 inches below the neckline for adults, measured from the collar to halfway through the design height.
For the left chest, find the midpoint between the fold line and the sleeve seam—around 7 inches for men and 5 inches for women.
Visualize placement by using a paper printout, drawing a center line, and marking a horizontal reference.
Using a stretch or ballpoint needle and applying a cutaway stabilizer helps prevent distortion.
These steps ensure your embroidery looks professional and well-positioned, making your shirt truly stand out.
Troubleshooting Common Issues During Shirt Embroidery
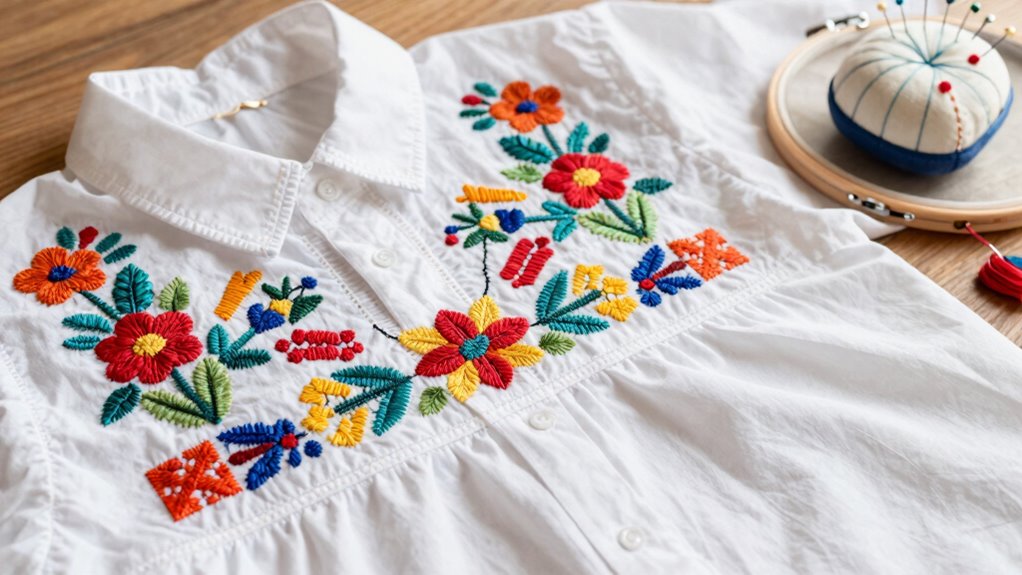
Embroidery mishaps like hoop burns and fabric shifting are common hurdles, but they’re usually easy to prevent with a few simple steps. First, ensure the fabric is tightly secured in the hoop, avoiding any slack that can cause shifting. Second, use stabilizers; these add support and prevent stitch sinking or fraying. Third, check your design digitization. Poorly designed patterns can misalign during stitching, so always print to scale and test on paper first.
Fourth, mark the placement with templates or markers, and consider floating the fabric to avoid repeated hooping errors. These small adjustments can save time and frustration, resulting in neater, more professional-looking shirts. With patience and attention to detail, many common issues become simple fixes rather than setbacks.
Finishing Touches: Removing Stabilizers and Cleaning Your Design
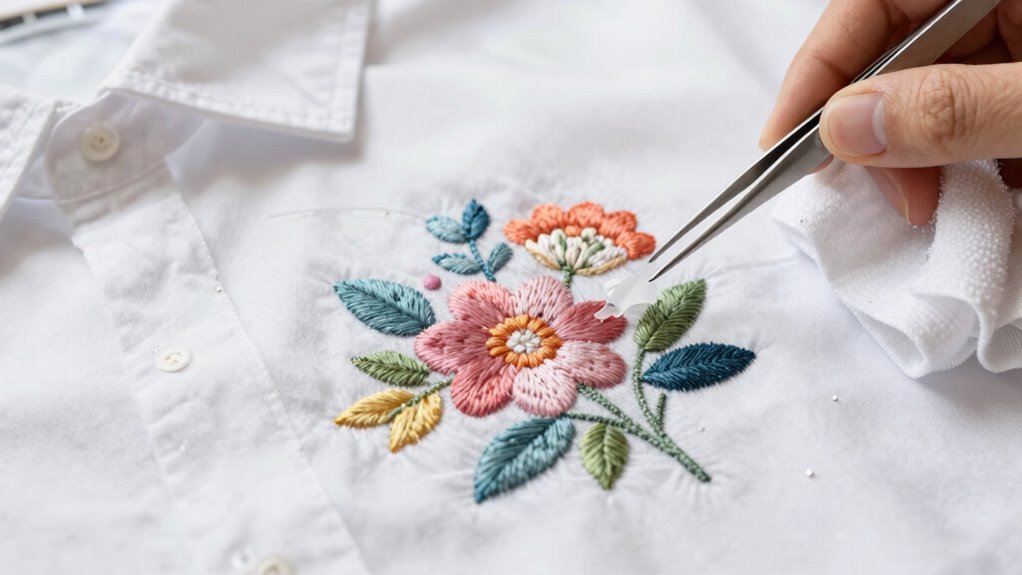
Have you ever finished a beautiful embroidered shirt only to feel unsure about how to clean up the final look? Removing stabilizers is key to giving your design a professional finish. Start by turning the shirt right side out, then carefully trim away excess stabilizer, leaving about 1.5 inches around the design. Be cautious not to cut between sections of embroidery.
For Stick and Stitch stabilizers, soaking the shirt in lukewarm water and gently rubbing helps dissolve remnants. If you used water-soluble toppers, simply remove them as part of the finishing process. They prevent stitches from sinking into the fabric.
When using heat or steam later, always follow manufacturer instructions for safe removal. This ensures your fabric stays undamaged and your design looks crisp and clean.
Caring for Your Embroidered Shirt to Maintain Quality
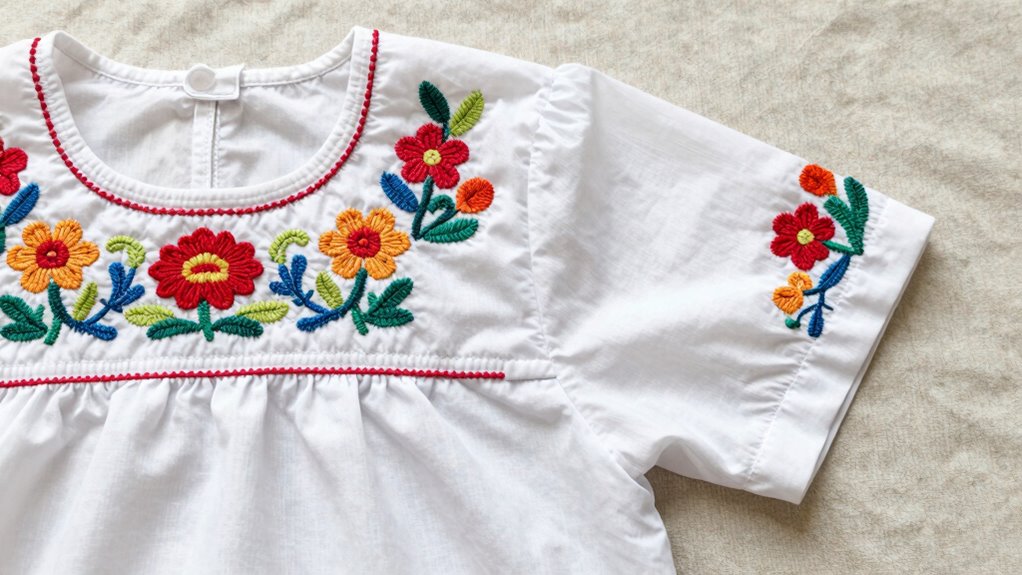
Ever wonder how to keep your embroidered shirts looking fresh and vibrant over time? Proper care is key. First, hand washing and line drying are gentler options that help preserve the embroidery longer, although machine washing is possible but can reduce the design’s lifespan. Second, the first wash might make the fabric feel stiff, but it usually softens after a second wash. Third, always use delicate wash settings and a delicates bag if machine washing to minimize wear on stitches.
Lastly, avoid high heat and hot water, which can cause colors to bleed and threads to fade. Before washing, test for colorfastness. Ensure knots are securely double tied, with tails tucked under to prevent shadows through the fabric after washing.